Holiday Glam Hair with Schwarzkopf® Keratin Color
This shop has been compensated by Collective Bias, Inc. and its advertiser. All opinions are mine alone. #KeratinAtTarget #CreateYourStyle #CollectiveBias


Who is ready to get holiday glam?! I love taking every opportunity to dress up, beat the face, and go over the top with my hair. Since I love to switch up my look a lot without compromising the health of my hair, I tend to wear a lot of wigs and extensions this time of year. I alternate between synthetic and human hair wigs, depending on the style and of course my budget, and I found some AMAZING wig deals on Black Friday so I got a few more to add to the rotation. One of my favorite wigs that I found was a little darker than I liked, so I wanted to try to add some dimension to the color as well. I tried the Schwarzkopf® Color Ultime® last year, turning an old blonde wig a vibrant auburn, so this time turned to Schwarzkopf® Keratin Color from Target!
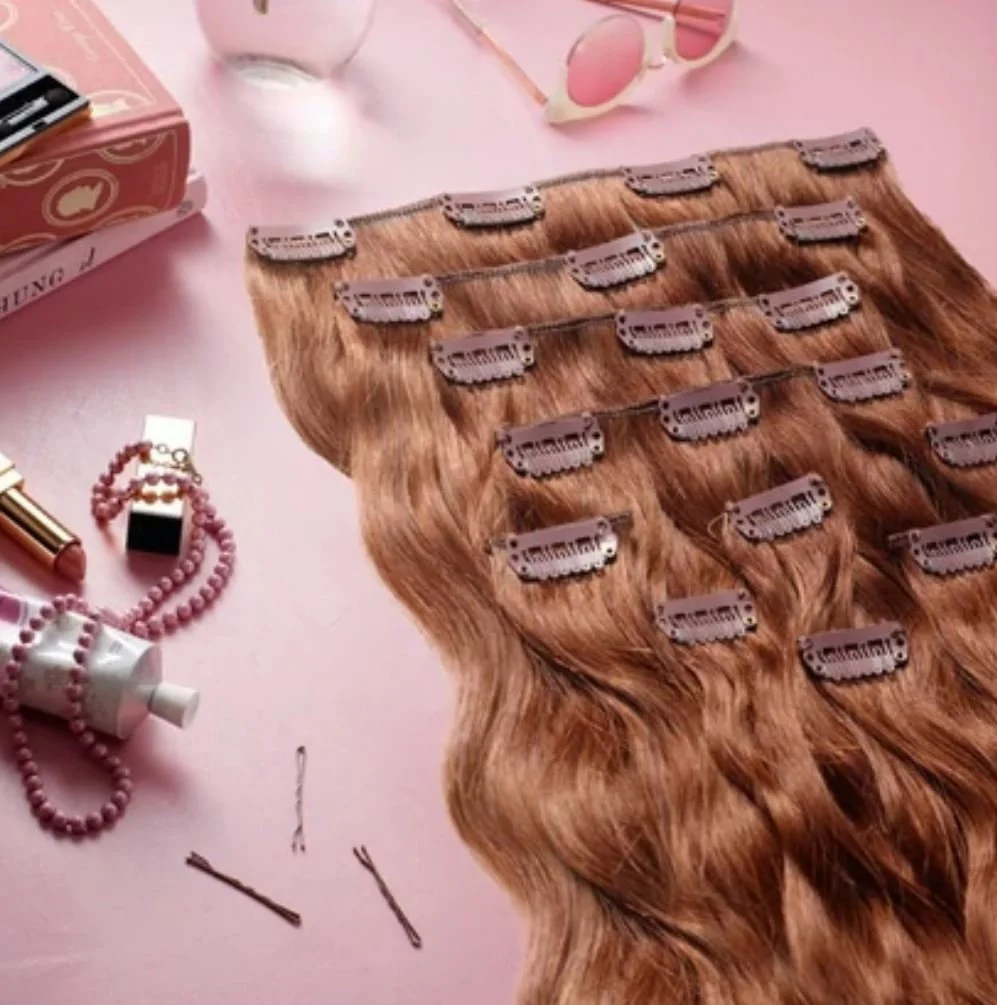
Brazilian Remy 360 Lace Wigs are usually super expensive because they have so much lace they can be parted in any direction, or even worn in an updo or high ponytail, but this one was only $137! Similar styles can actually go for over $400, so definitely a steal. However, all wigs need some customization to fit your face, wear naturally, and get the perfect color, so here are a few steps I took to perfecting this wig.


I always start by trimming all the lace off the wig, then deciding where I want to part it. Since this is a 360 lace wig, I can change the part whenever I want, but for now, I’m starting with a side part. Carefully tweeze out some of the hairs along the part to make it look extra defined, and along the hairline to thin the edges out for a natural look. Most wigs have a very straight, almost boxy hairline which is completely unnatural! Everyone has a little thinning along their hairline and edges, so plucking out those extra hairs will make it look so much more natural. It’s not really an exact science, just follow your natural hairline and how your hair falls and try to mimic that. Like I said earlier, this particular wig was a little darker than I liked, so I wanted to try to add some dimension to the color as well.
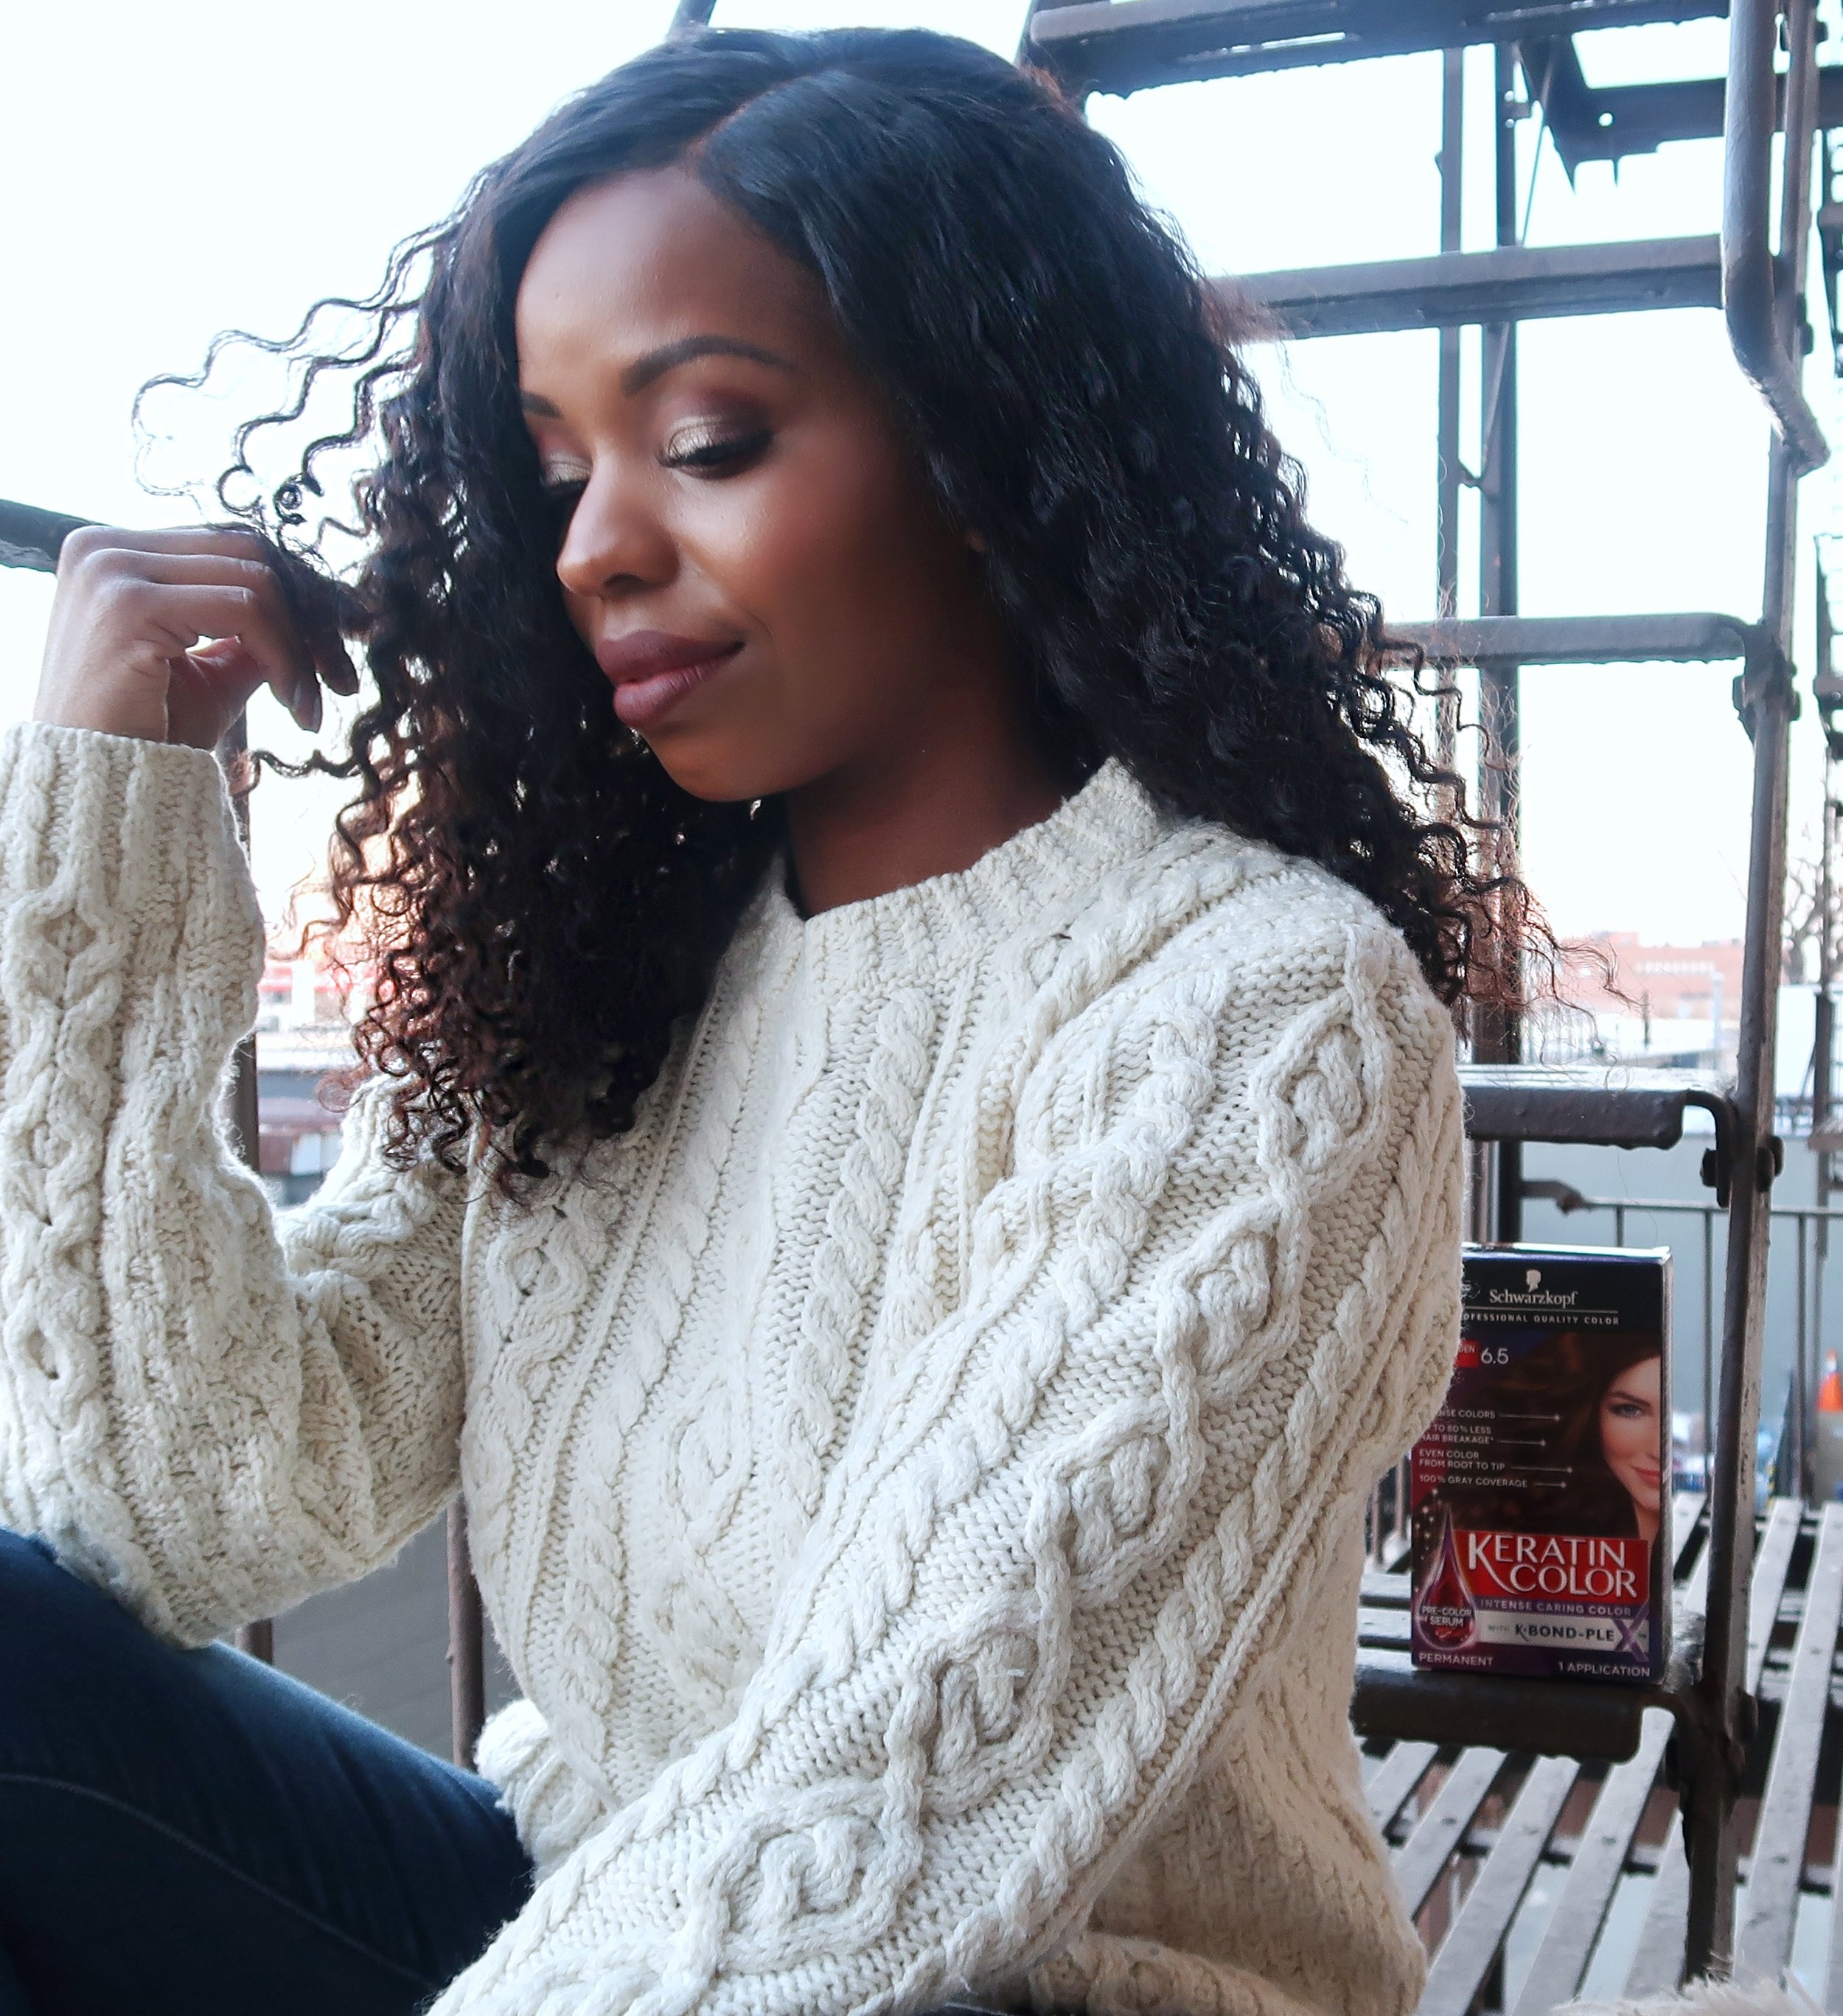
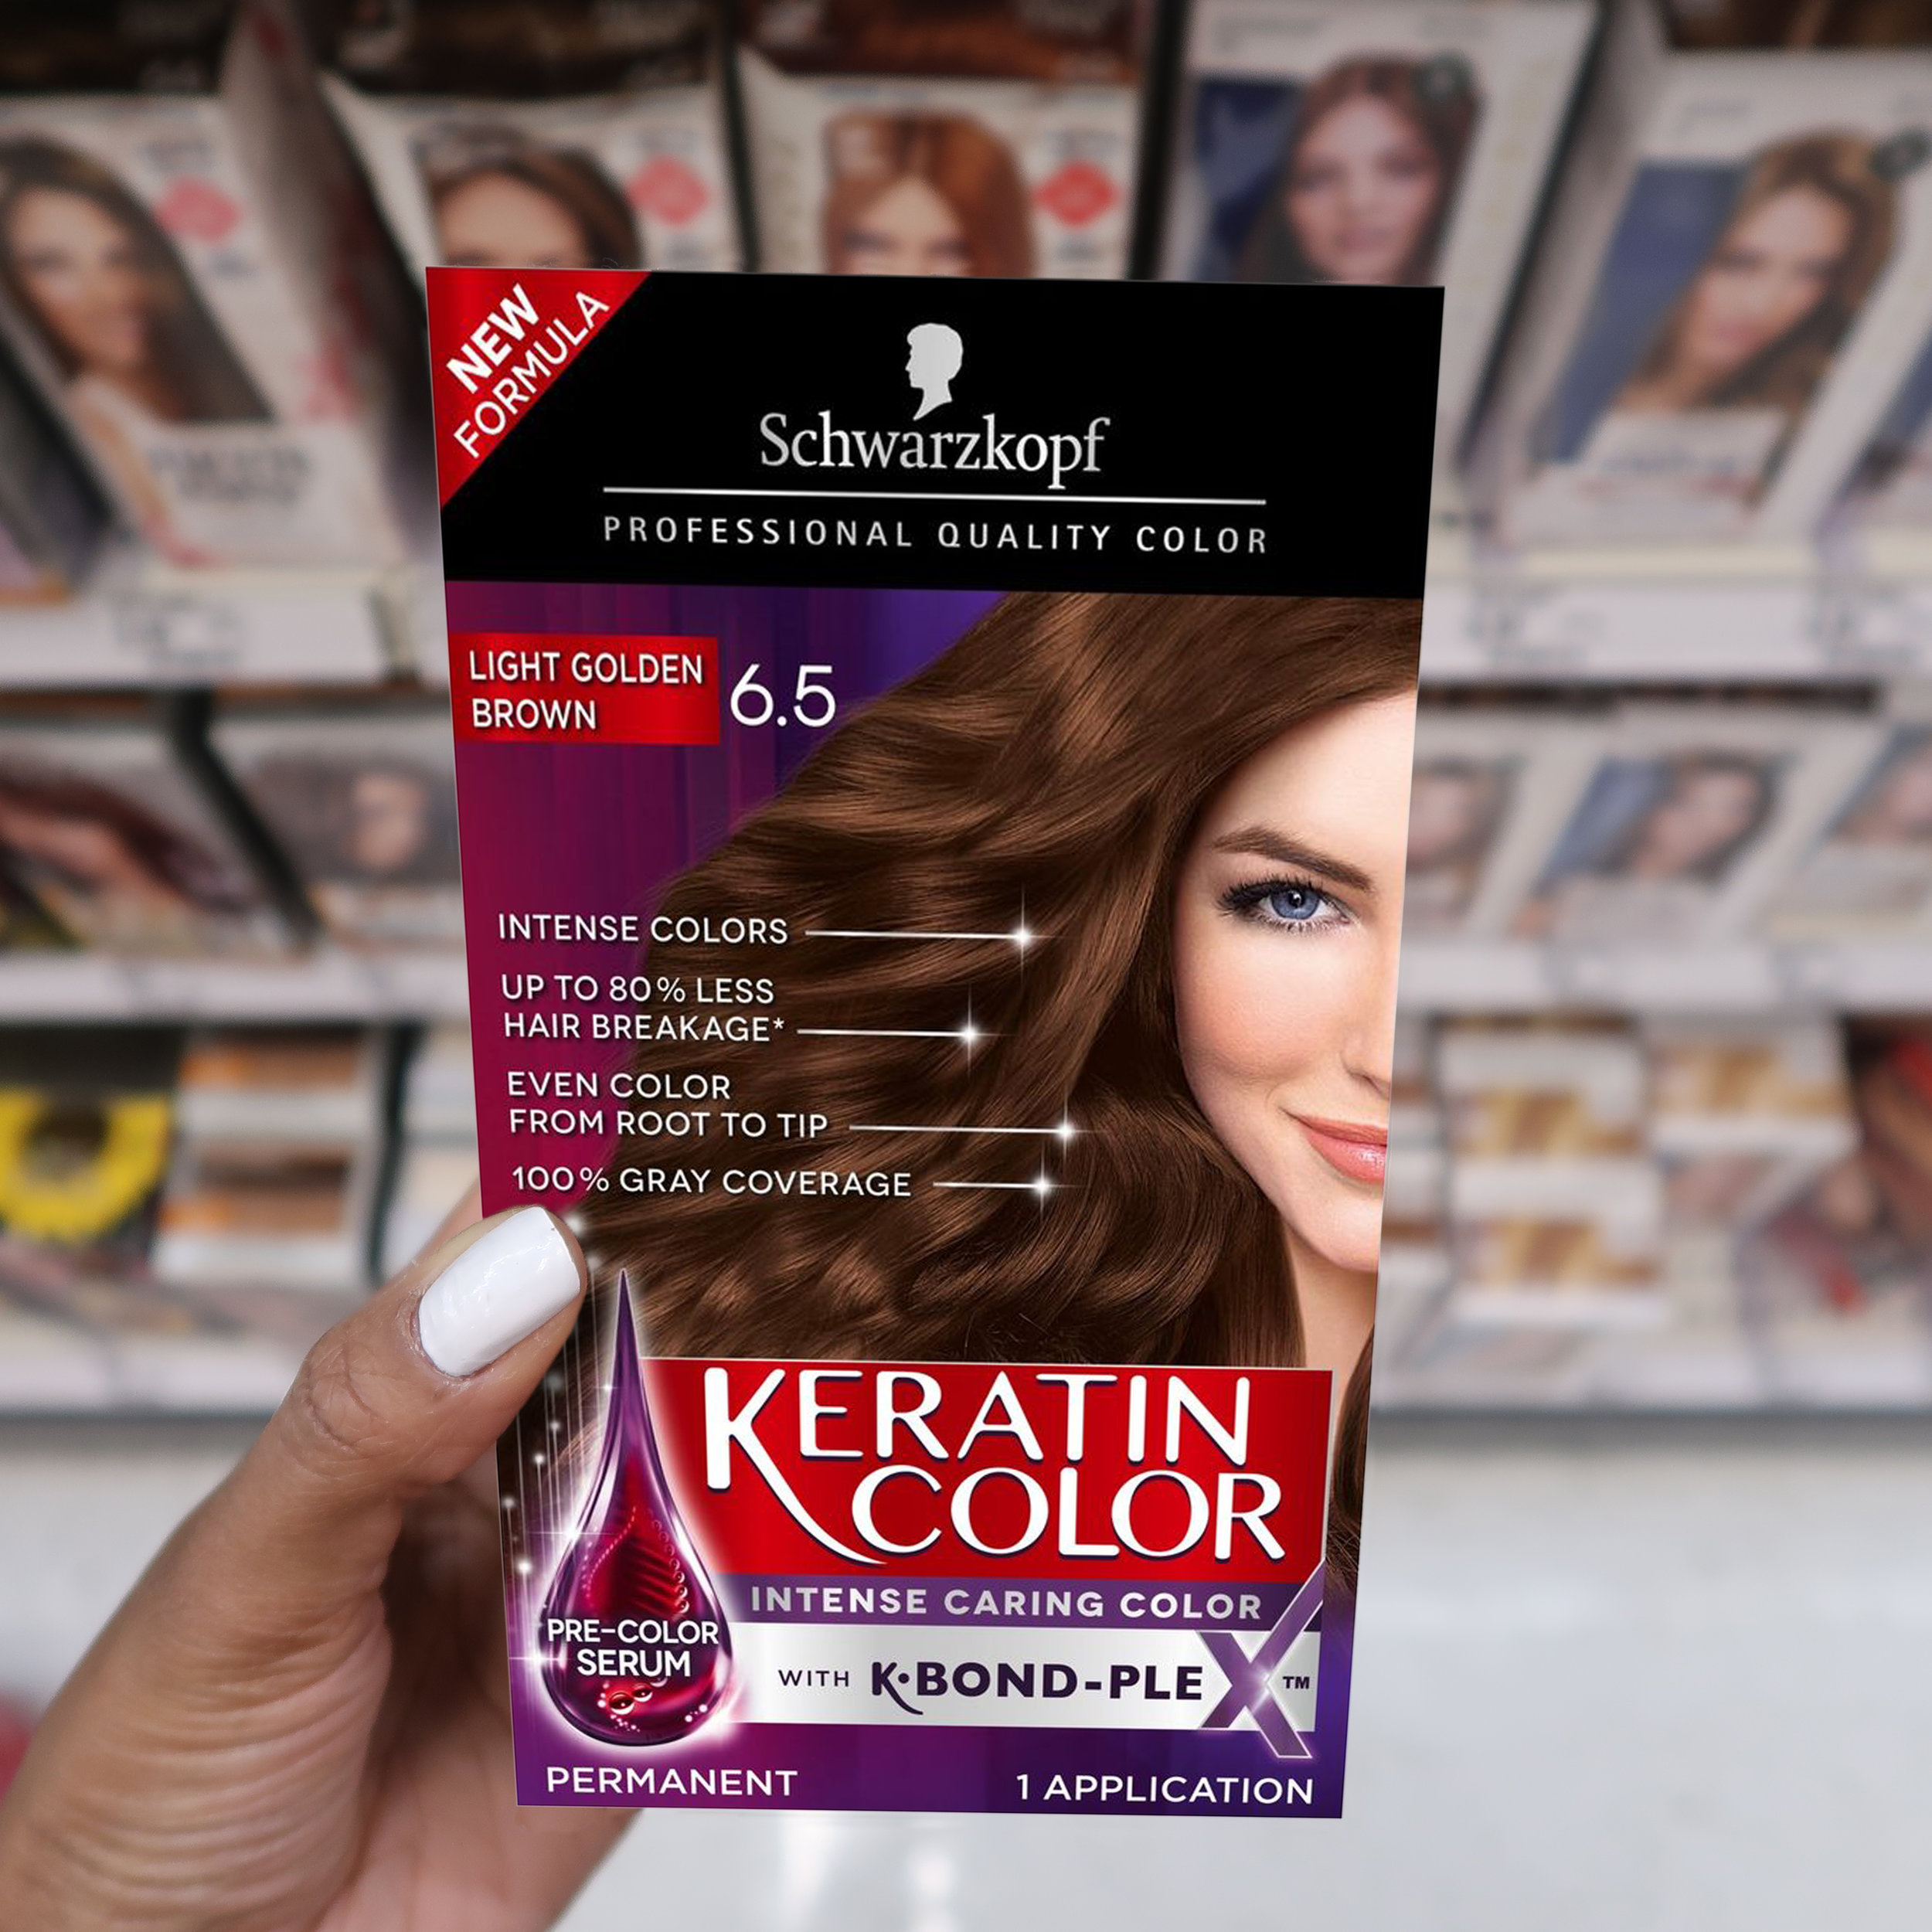
Schwarzkopf® Keratin Color formula has a cutting-edge anti-breakage technology with K-BOND PLEX™ to repair the hair structure and leave your hair looking healthy and strong. And if you invest in a wig you want it to last, choosing the right color system matters! I especially liked that it included a Pre-Color Serum, which conditions the hair before coloring for a more even color result from root to tip. The K-BOND PLEX™ salon inspired anti-breakage technology will ensure great color plus shiny, healthy looking hair! I chose to do balayage style highlights in the shade Light Golden Brown. I didn’t want to color the whole wig one shade but was hoping for a subtle medium to chocolate brown highlights that would add dimension. Please note, you can ONLY dye a high-quality human hair wig, not a synthetic! The color will not take and if it’s not a Remy wig the results won’t be optimal.
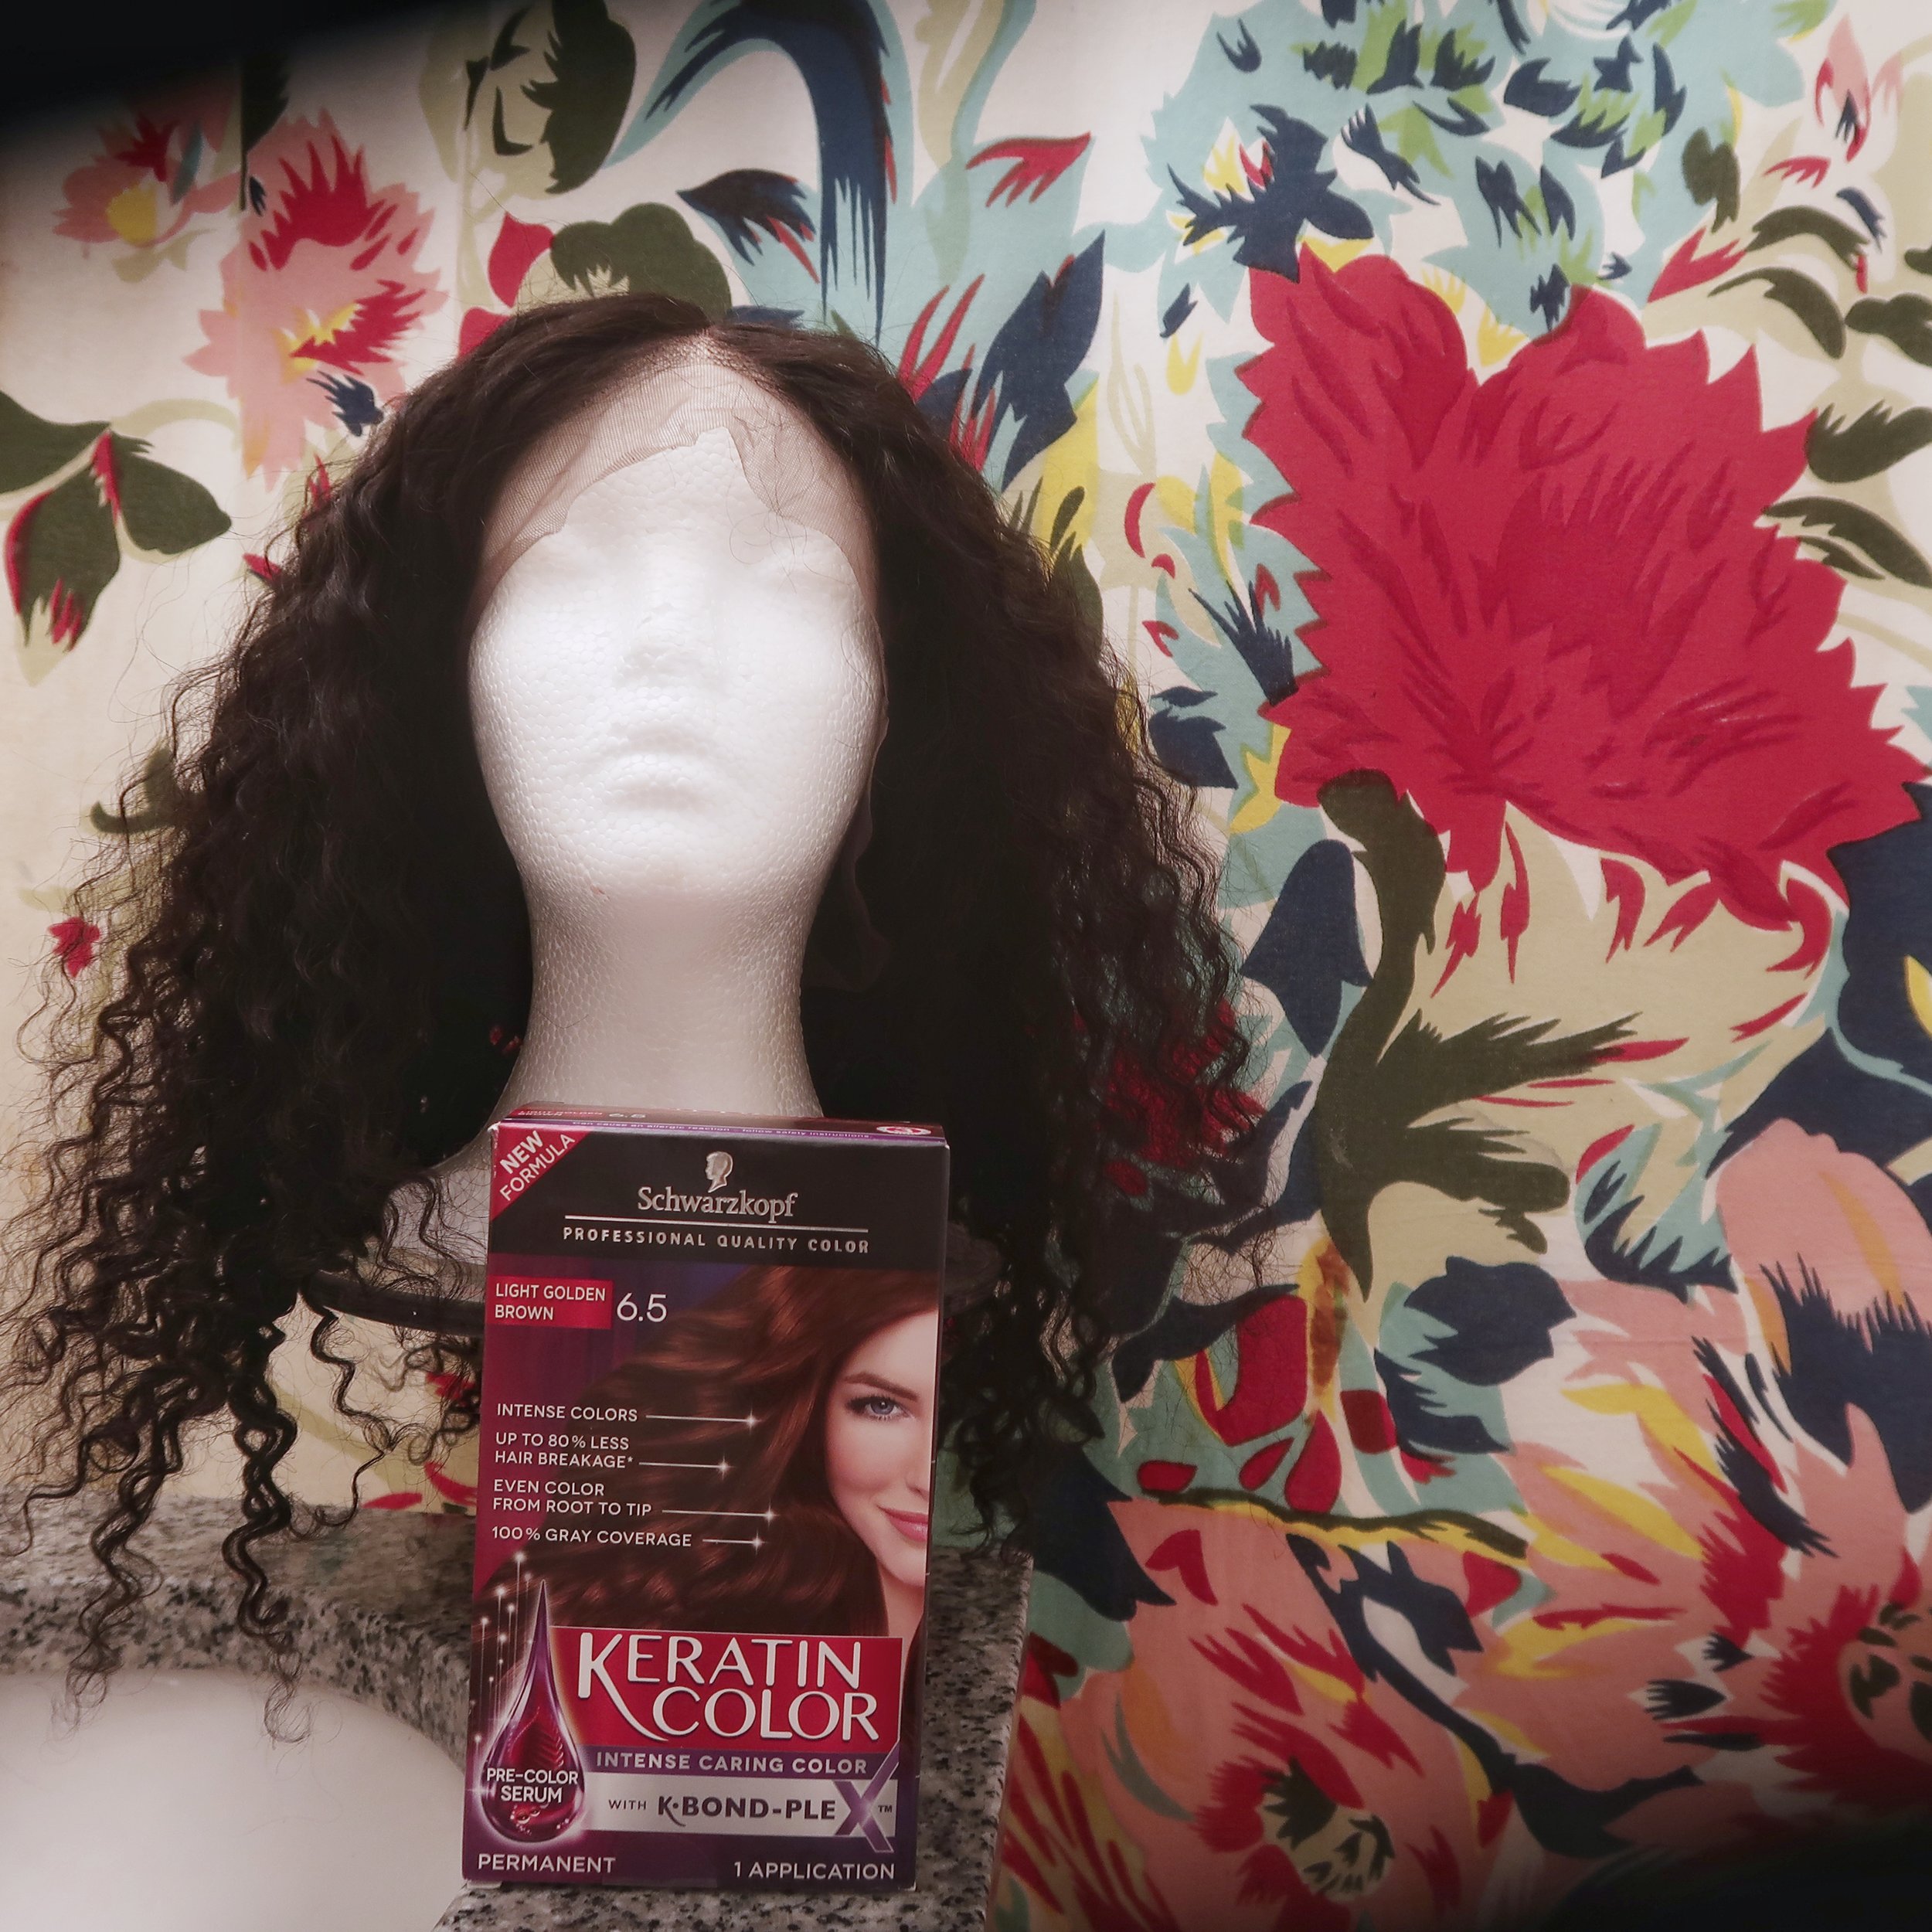

To start, secure the wig to a Styrofoam head using bobby pins and apply the pre-color serum, then section off the hair. I did 6 sections so I could see exactly where I was applying the color and make sure all the highlights were even. Then just mix the Color Crème into the bottle containing the developer, give it a good shake, and try not to be alarmed by the strange color it may turn.

Then moving quickly, I applied a bit of the color to small pieces of hair, starting about an inch away from the roots. The nozzle tip applicator was super easy to work with, and it took about 25 to 30 minutes to do the full head of balayage on the wig. Since I knew it would take a while to apply, I went with a safer shade instead of one of the bright blondes and worked across in horizontal sections, so each layer of hair would have even color. I was nervous that if I went with a brighter shade the bottom would be fully processed before I made it to the top then it would just look completely uneven and crazy.

Total processing time for the section I started with was about 45 minutes and for the last section, I made sure to give it the recommended 30 minutes before rinsing and following with the K-BOND PLEX™ conditioner. I just applied a little bit of moisturizing curl crème then let the wig lay flat on a towel to dry. Avoid putting a wet wig back on the Styrofoam head to dry because that can actually stretch out the cap! And here she is after!

In the morning, I put it on over a wig cap, and secured it with a tiny bit of a super strong hold gel. The wig comes with combs but I prefer not to use them because they pull on my hair and are pretty uncomfortable, but the last thing you want is your wig slipping off. Glue is a great alternative to uncomfortable clips and wig tape that can destroy your hairline or the risk of losing your wig to a strong gust of wind.

And here’s the final look! Even though the color is super subtle, I love how smooth and shiny it was. In retrospect, I could have gone with one of the lighter shades for a bolder look, and if you are starting on super dark hair you may want to try going lighter than you think you need to for color that really pops.
Let me know if you guys try it and what color you go for! I would love to see your results!